Microsoft’s 2020 release wave 1 for Dynamics 365 includes a number of innovations designed to help you transform your business. This release contains many great features across Dynamics 365 applications, including Marketing, Sales, Customer Service, Field Service, Finance, Supply Chain Management, Human Resources, Commerce, and Business Central. In this blog we will take a look at some of the new features for Sales.
Steps to enable 2020 Release Wave 1 for Dynamics 365
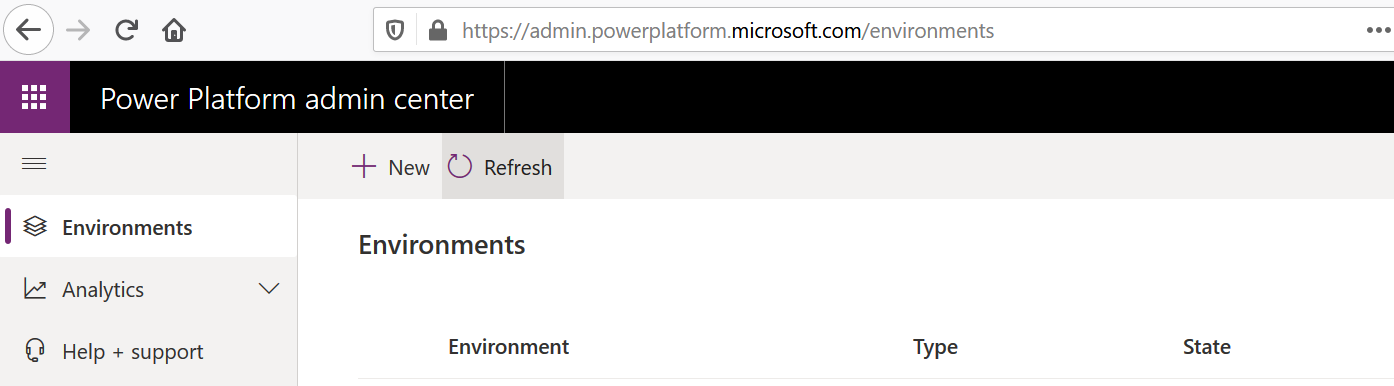
- Go to Admin.powerplatform.com
- Select Environments

3. Click on the environment name
4. On the right side you will see Updates Release 2020 wave 1

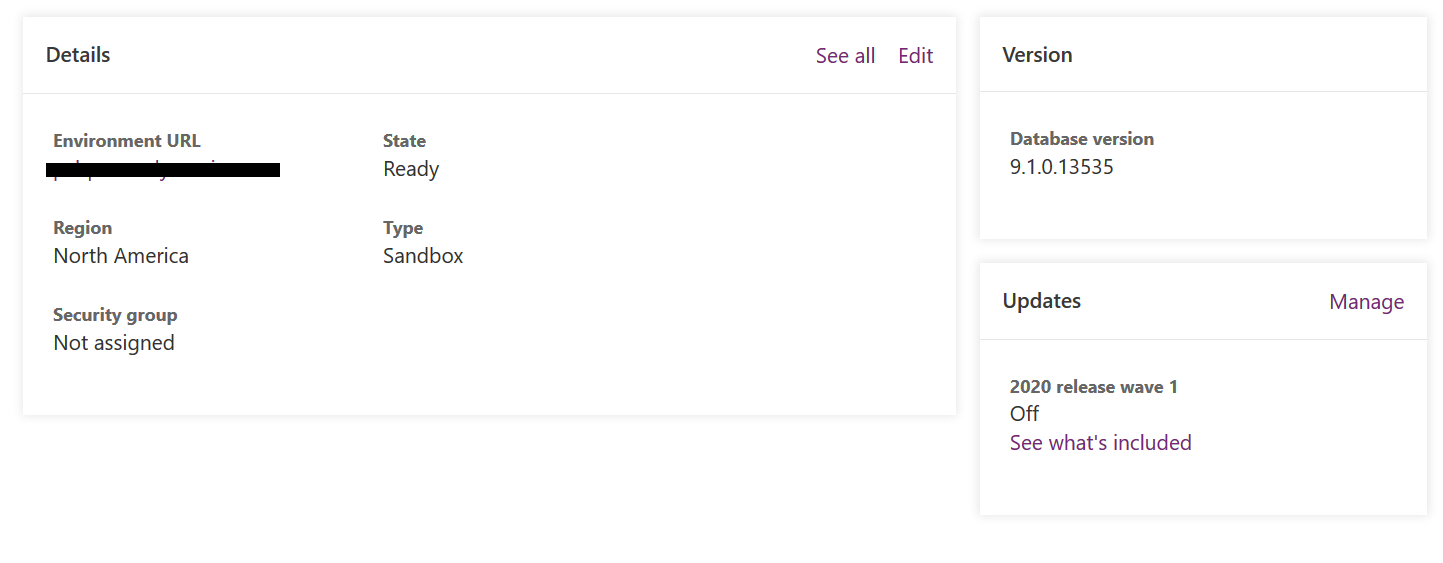
5. Click on Manage and Update Now


6. Once it’s done, you are ready to go.


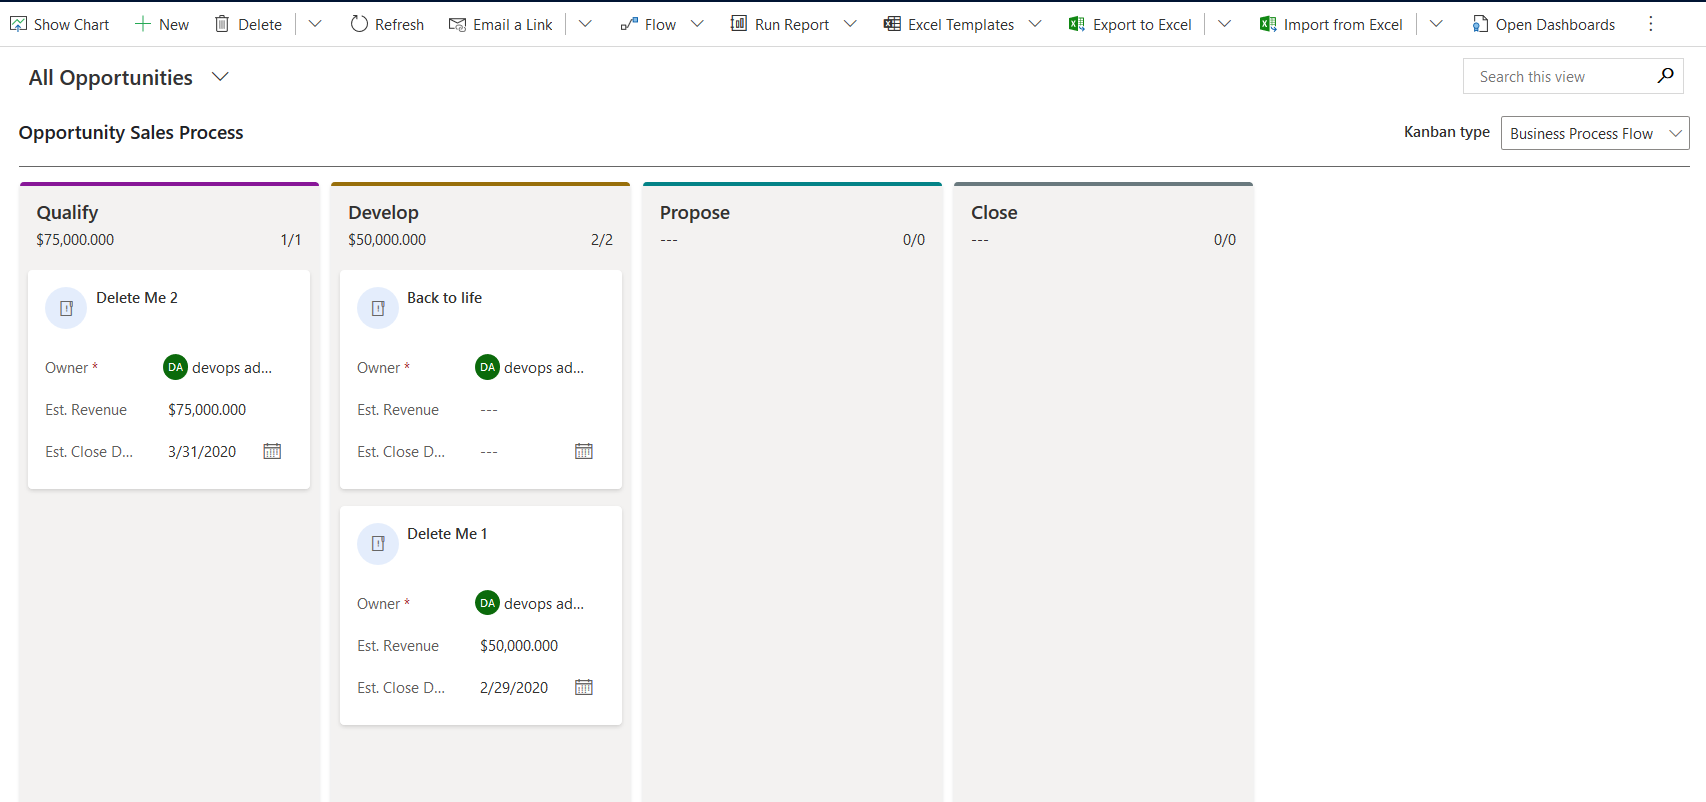
Feature 1: Kanban view for Opportunities

Steps to enable kanban view for Opportunities:
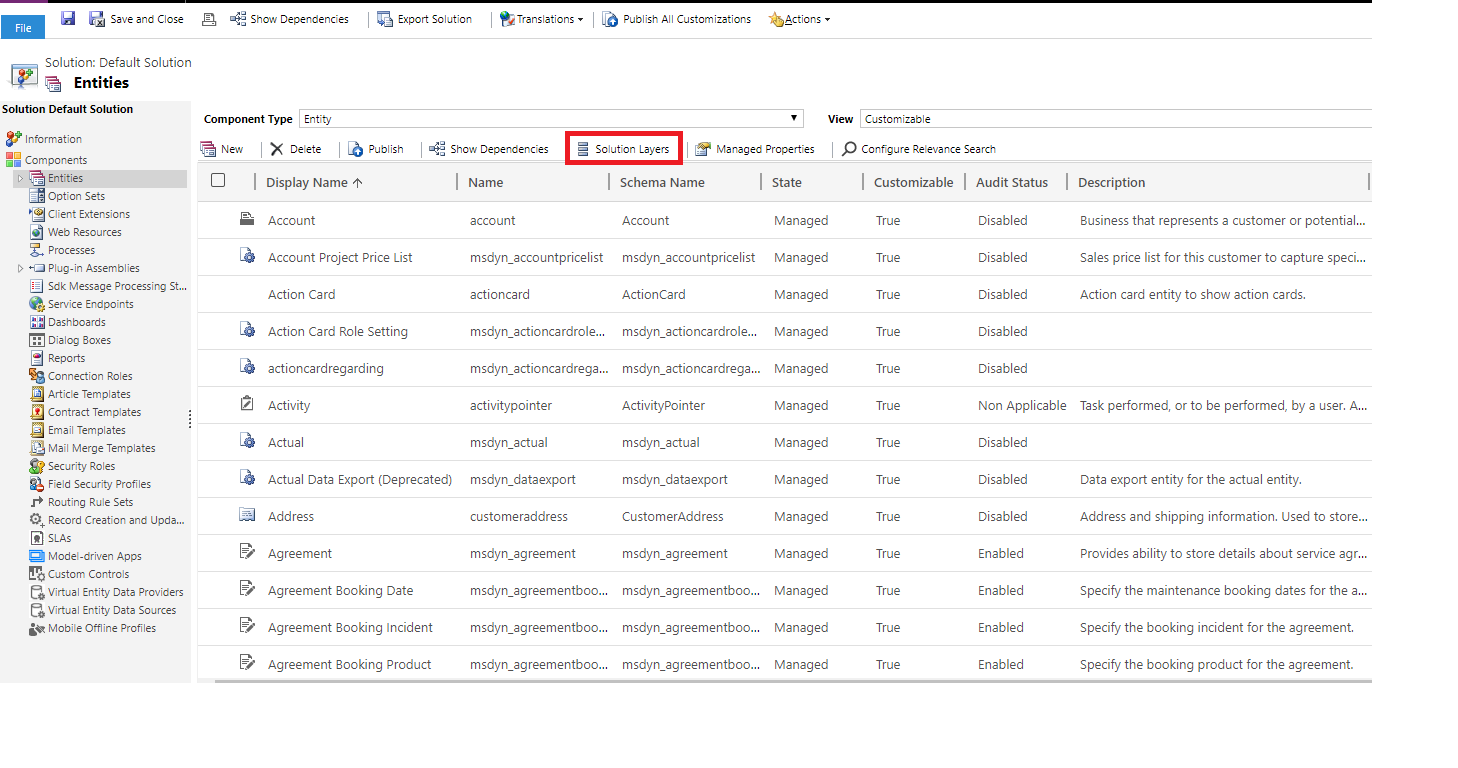
- Go to Settings → Customizations → Customize the System
- Expand Entities → Click on Opportunity entity
- Click on Controls and add a new control as Kanban
- Enable kanban view, at least for the web


5. Save and Publish
Feature 2: Kanban view for Activities


Steps to enable kanban for Activities:
- Go to Settings → Customizations → Customize the System
- Expand Entities → Click on Activity entity
- Click on Controls and add a new control as Kanban
- Enable kanban view, at least for the web
5. Save and Publish
Feature 3: New way to filter activity type


Feature 4: Opportunity in pop-up screen

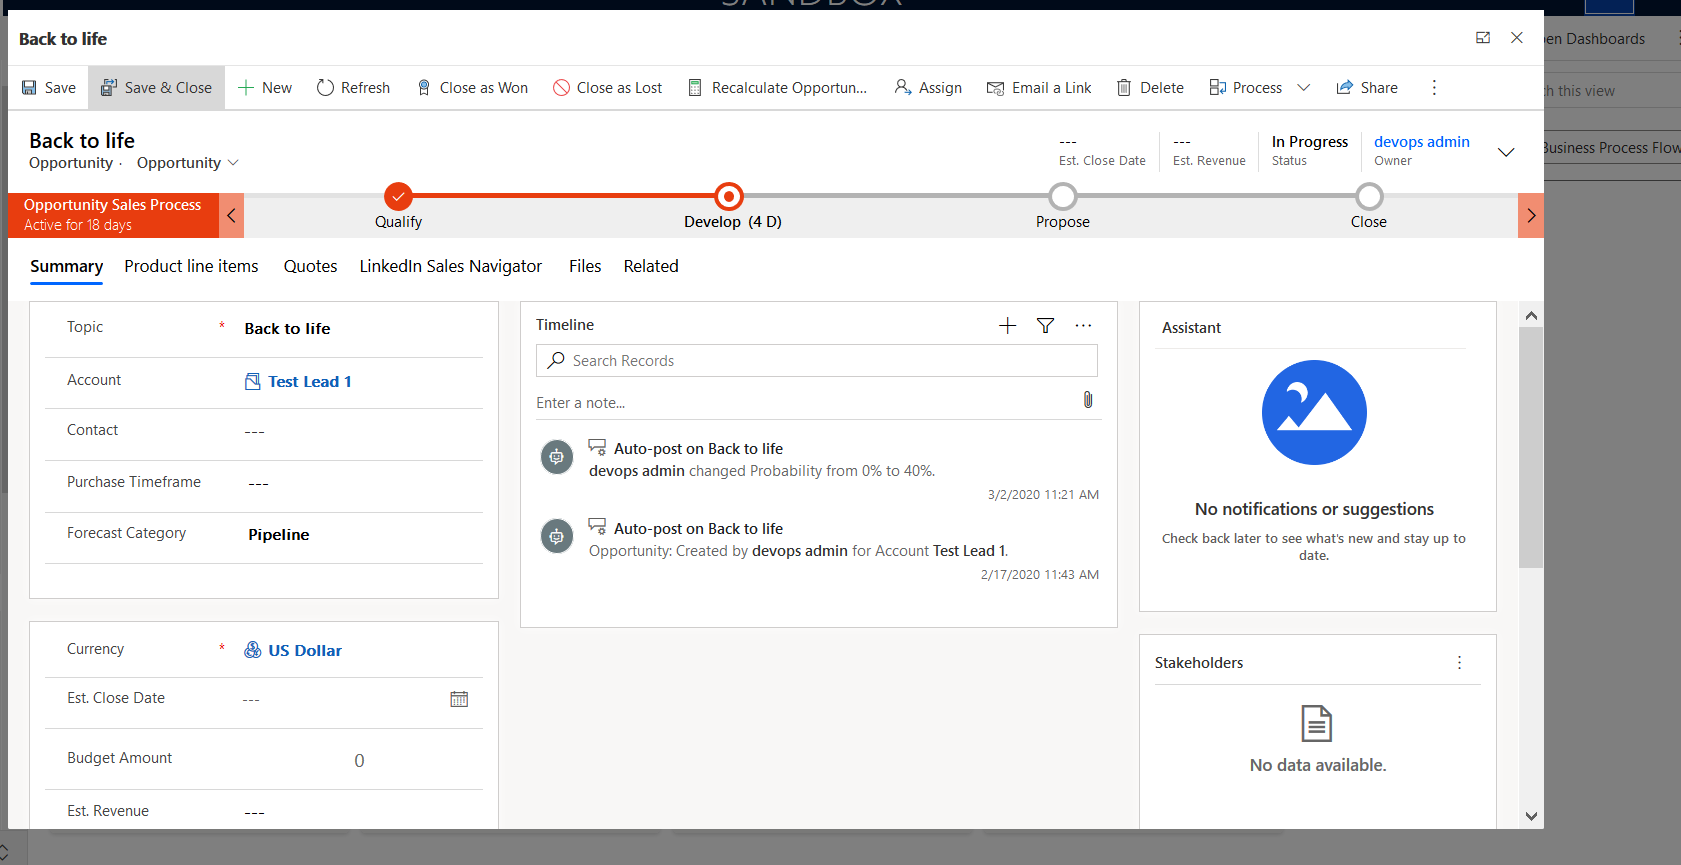
When you drag and drop an opportunity to another process stage it will open the opportunity in a new pop-up screen.
You can open it to full screen by clicking on the full-screen button in the top right corner.


Feature 5: Expanded system view list


Feature 6: New Sort and Filter in view


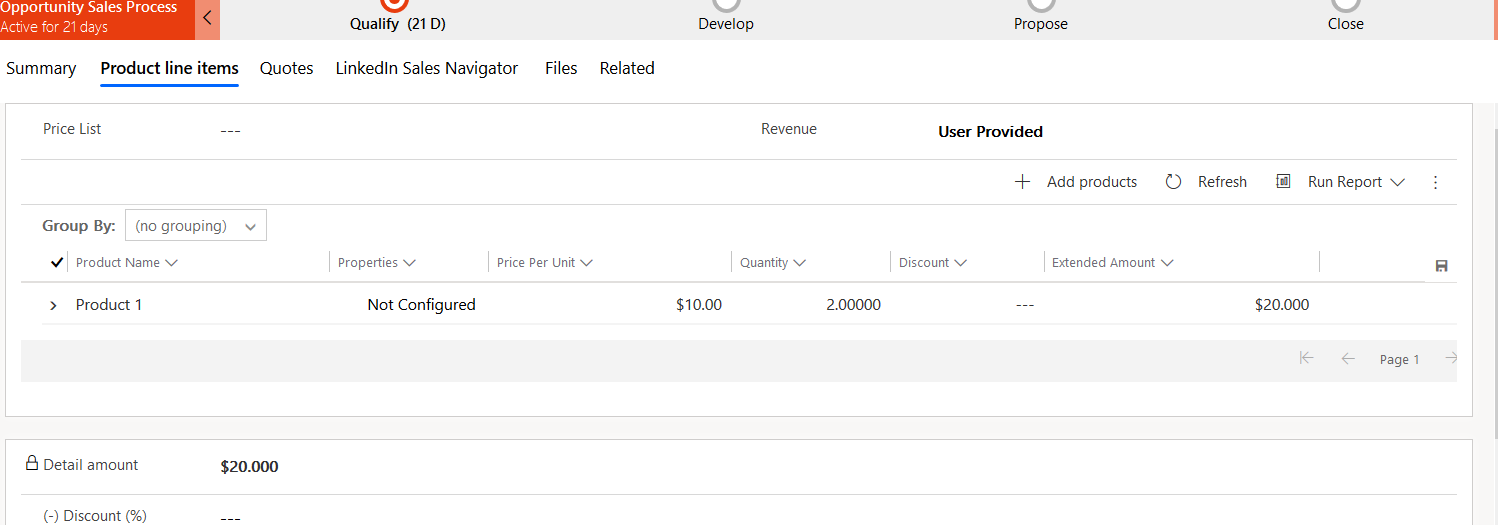
Feature 7: New Opportunity Product form


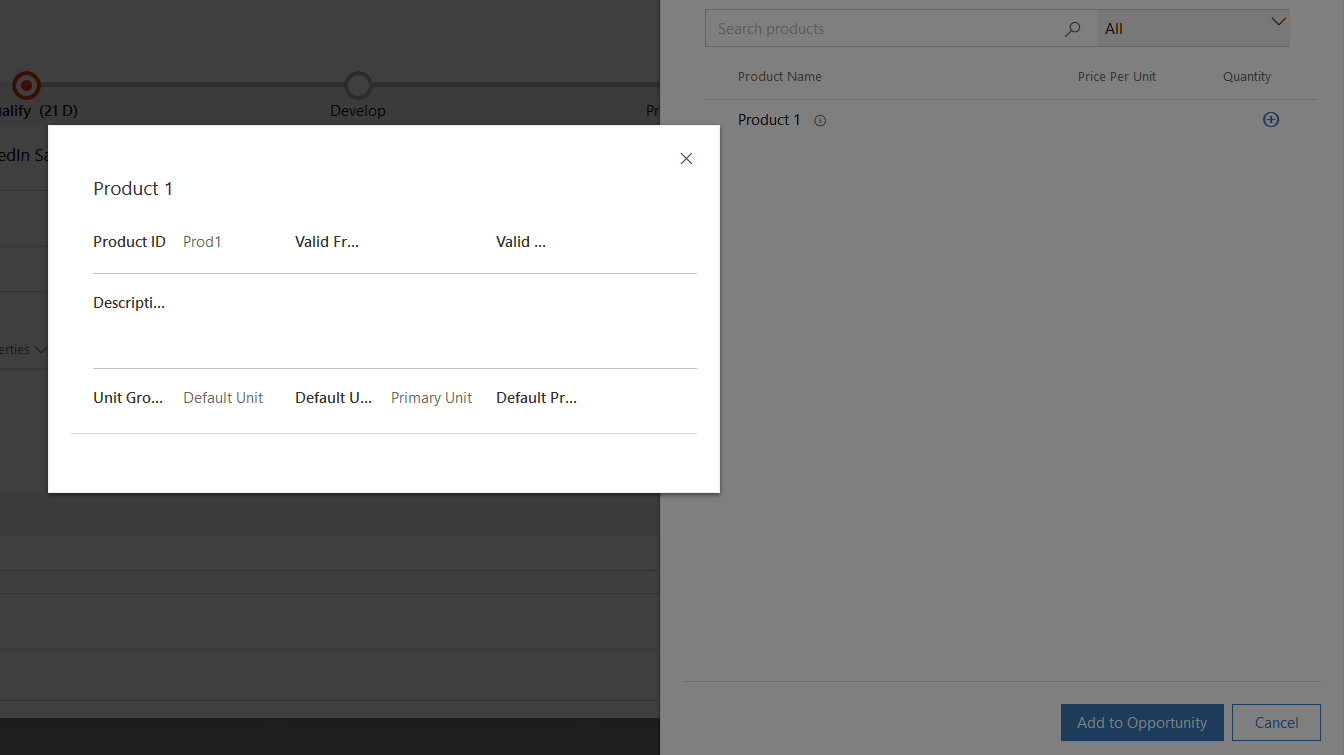
Feature 8: Add a product without price list

Feature 9: New way to format notes


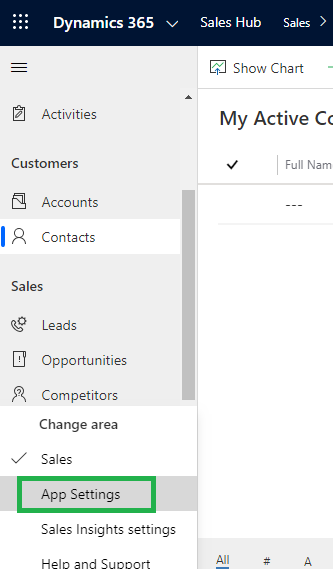
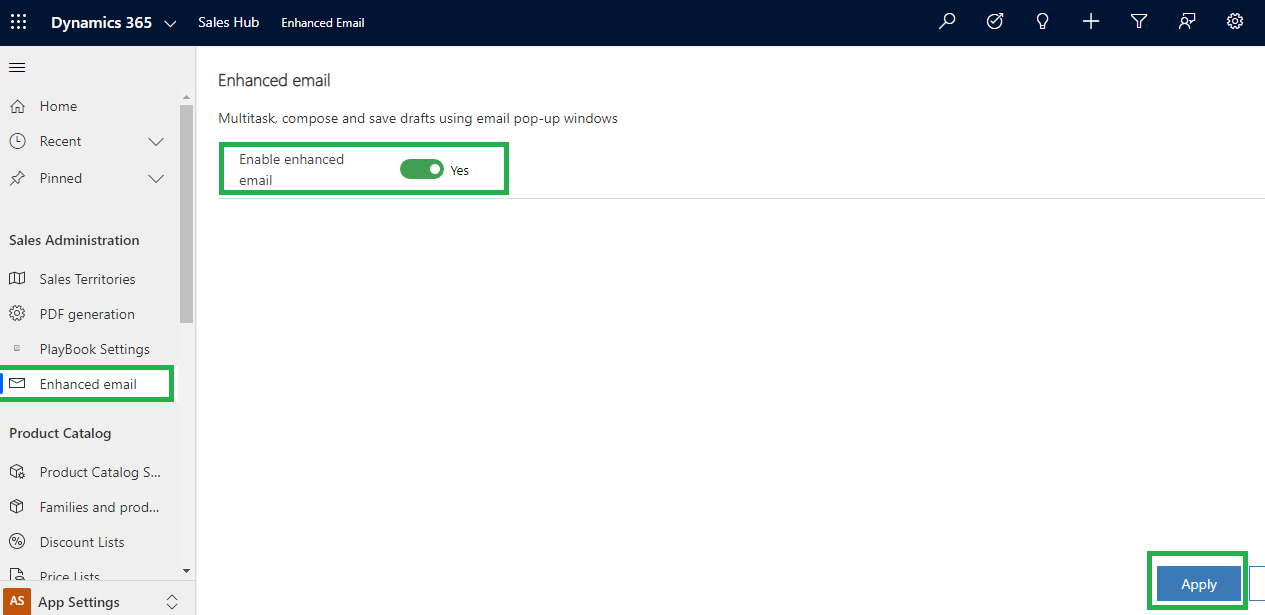
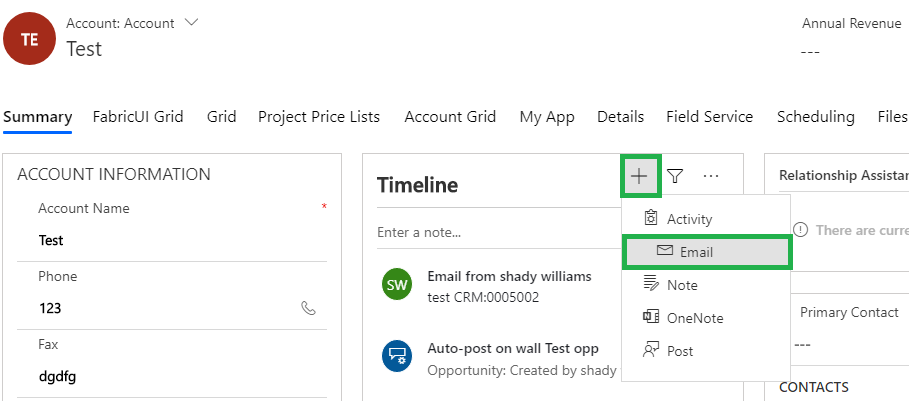
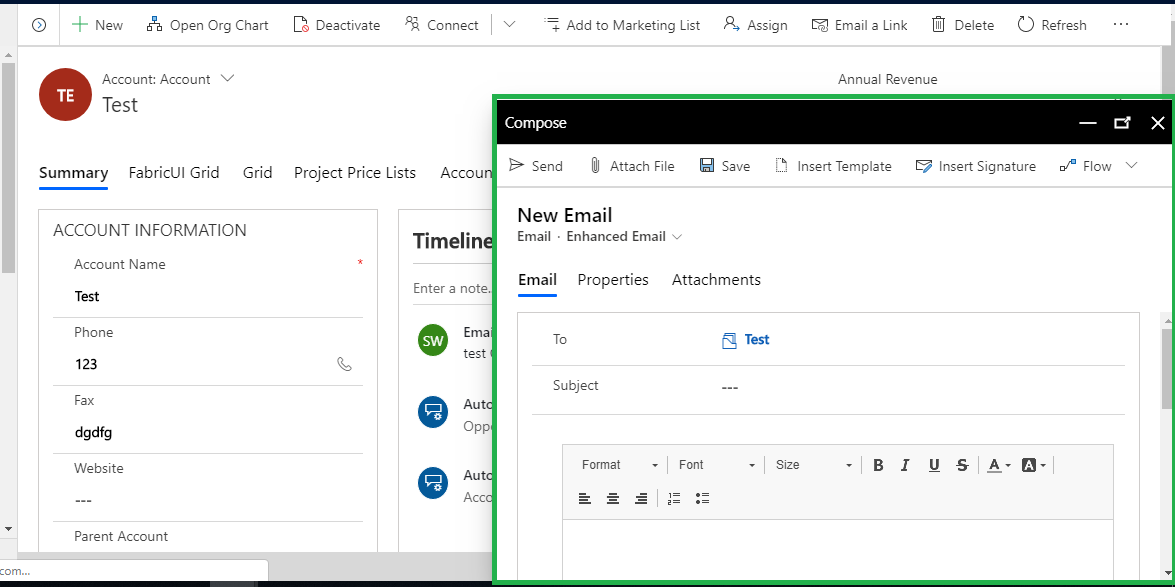
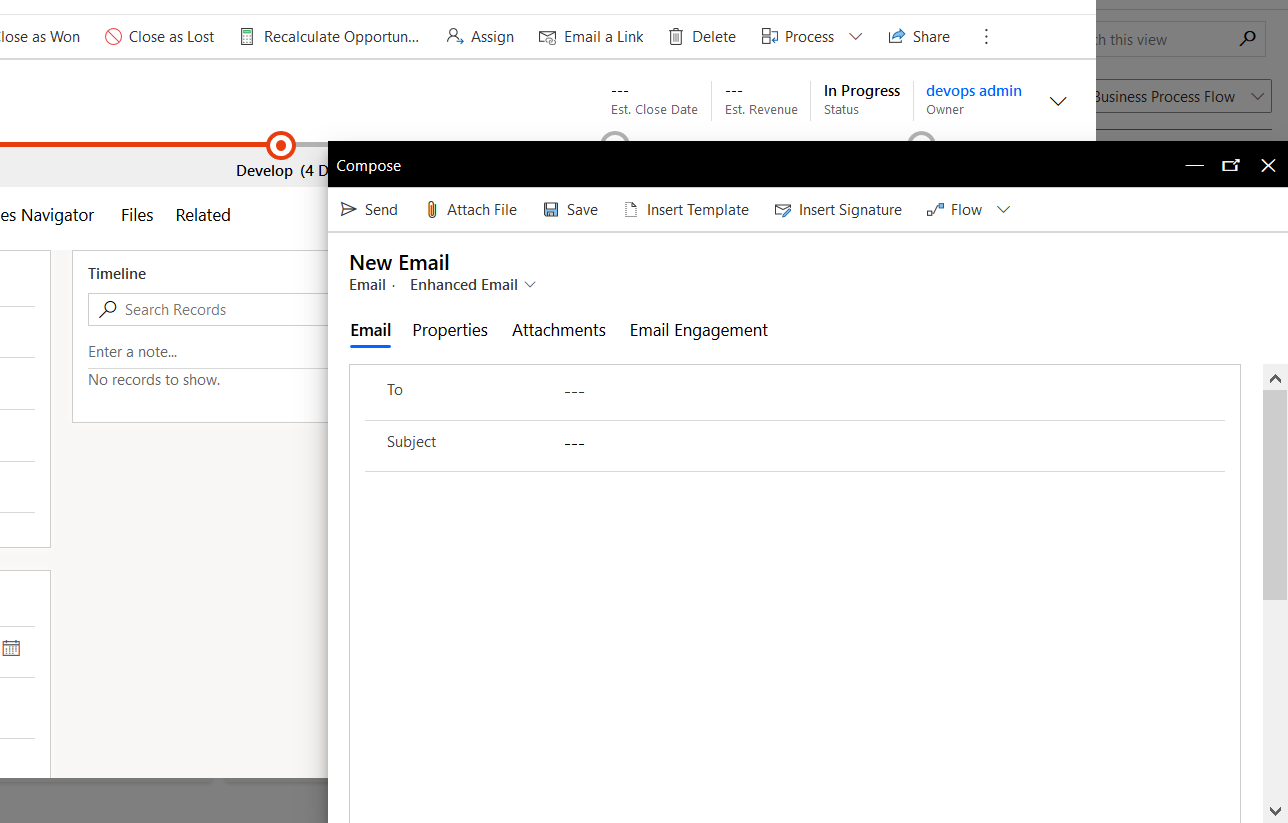
Feature 10: New way to send an email

Feature 11: New Timeline Activity status


Feature 12: New Show Chart for the related record

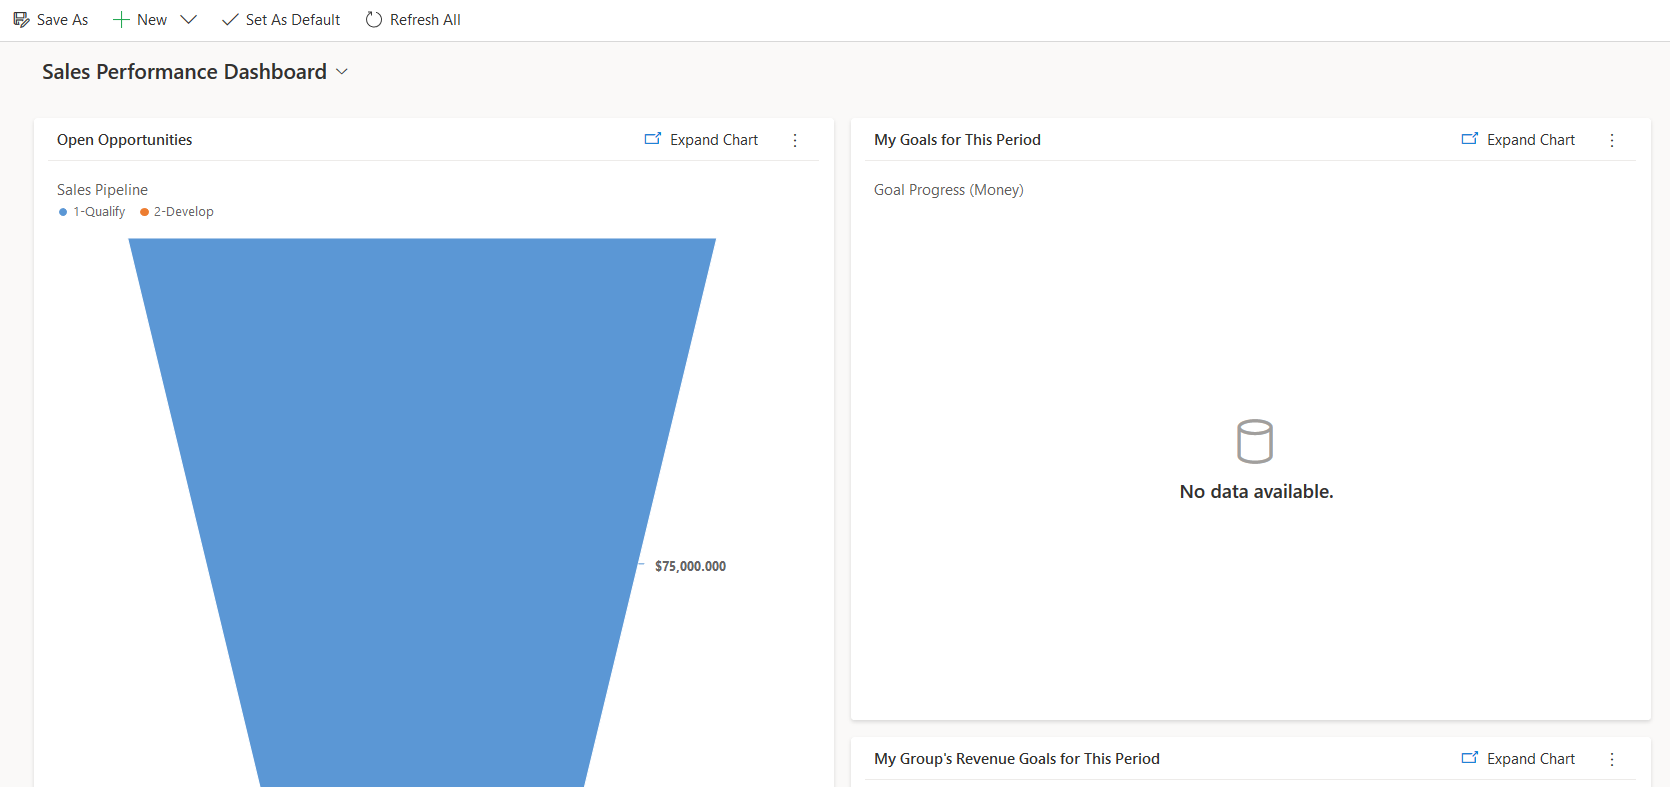
Feature 13: New dashboard layout

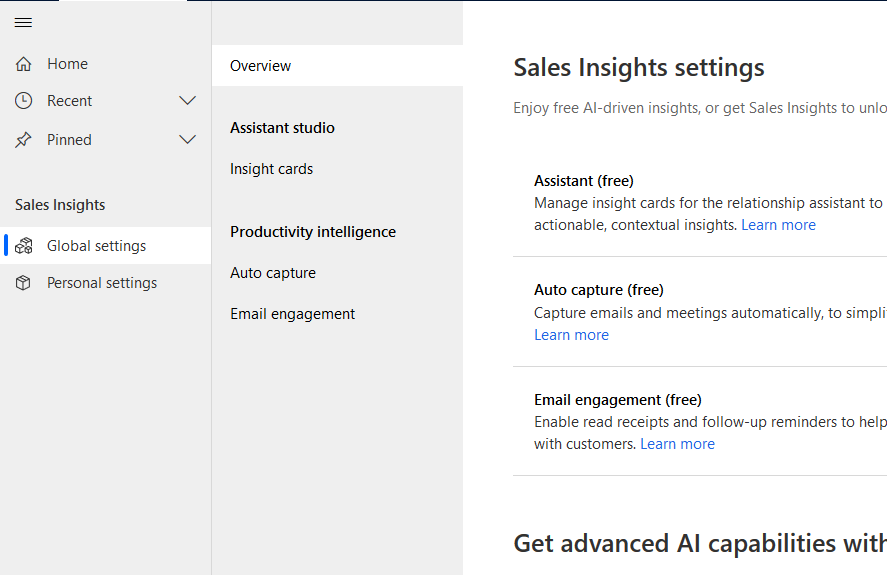
Feature 14: Configure Sales Hub from a centralized location